Create an eSign document
You can upload or import a document for eSignature, select a recent document you had created on DocuX, or use a template.
Upload a document for eSignature
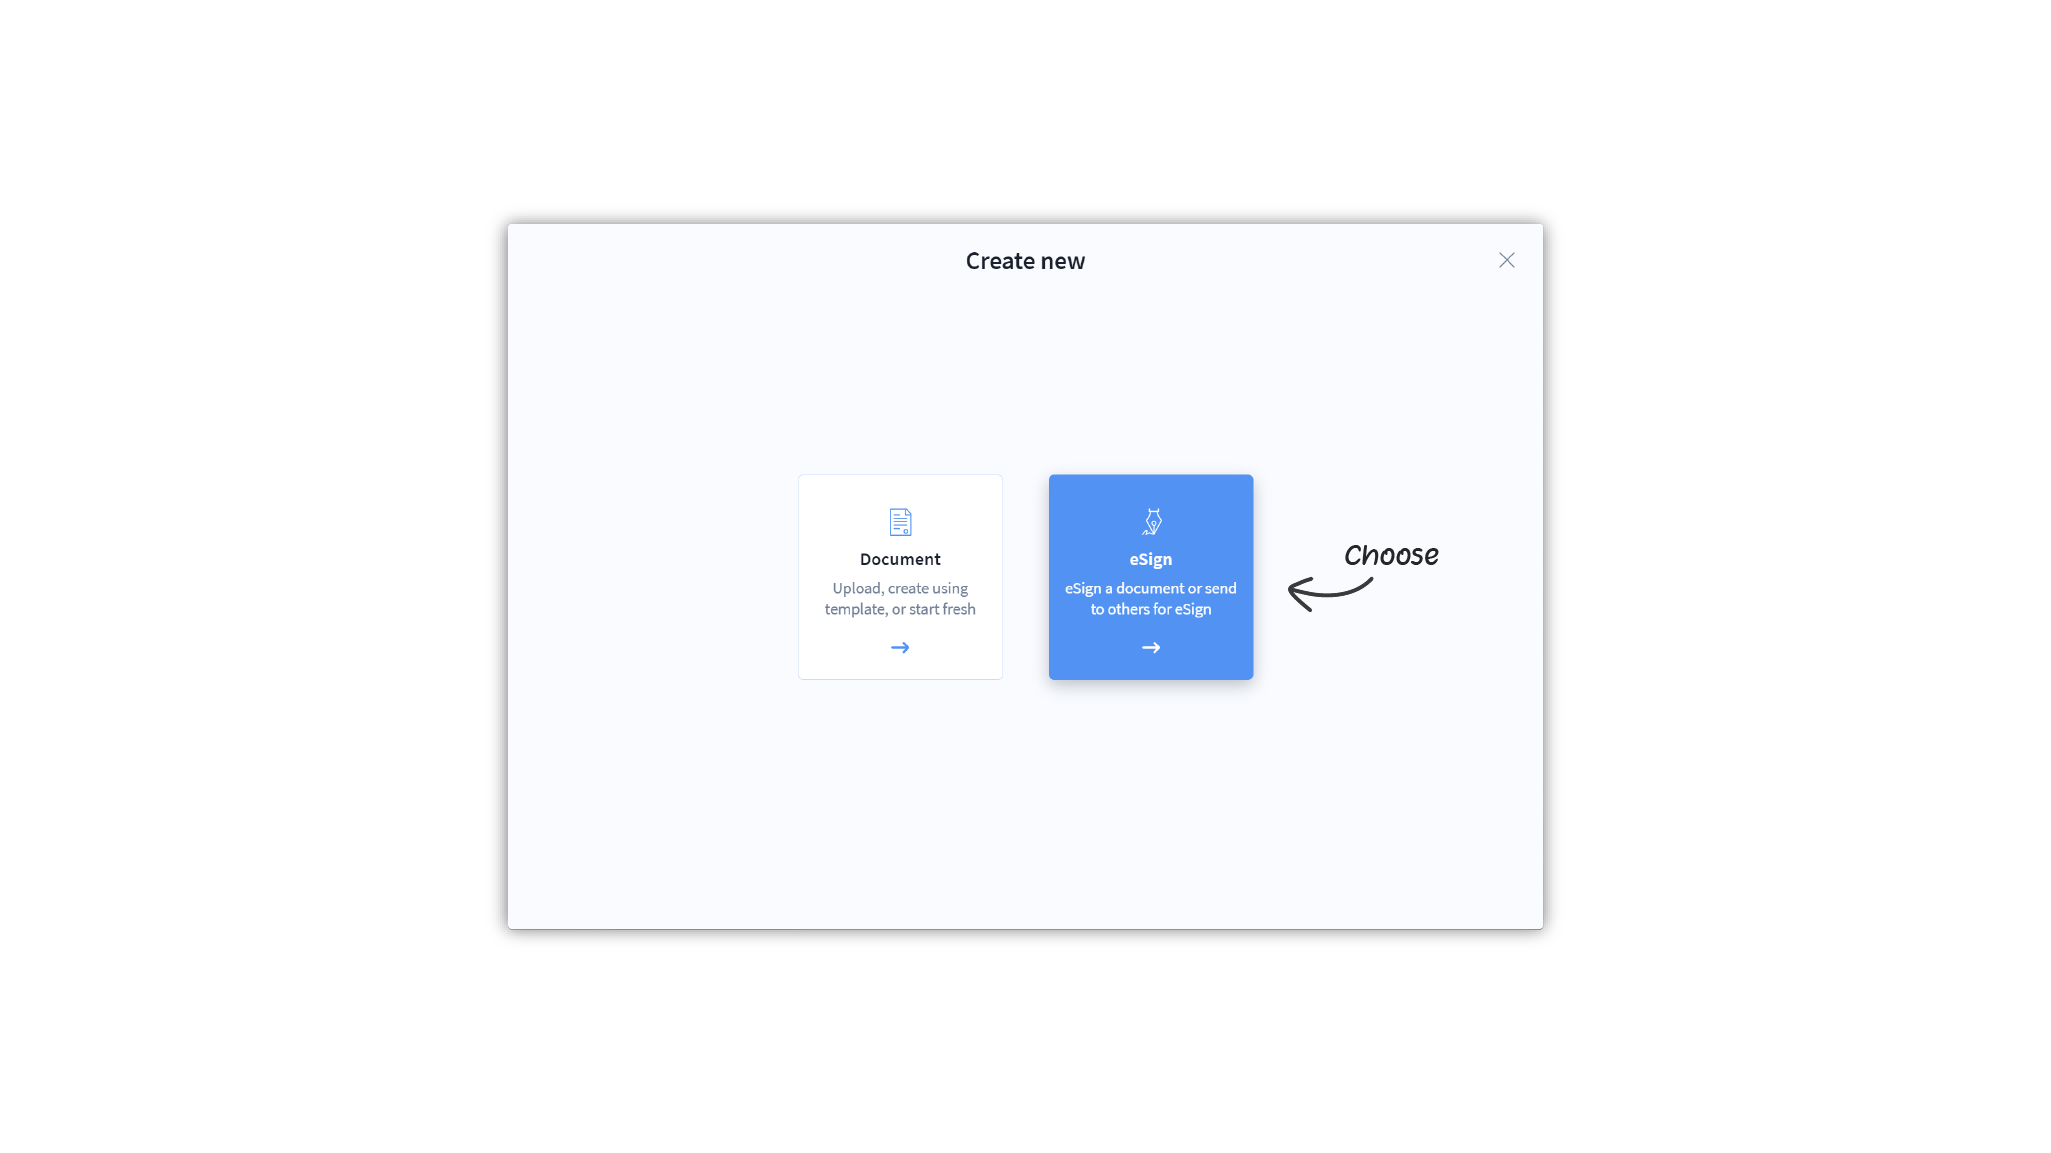
- Click on Create new in the main navigation menu

- Select eSign from the Create new popup modal
- Click on Upload
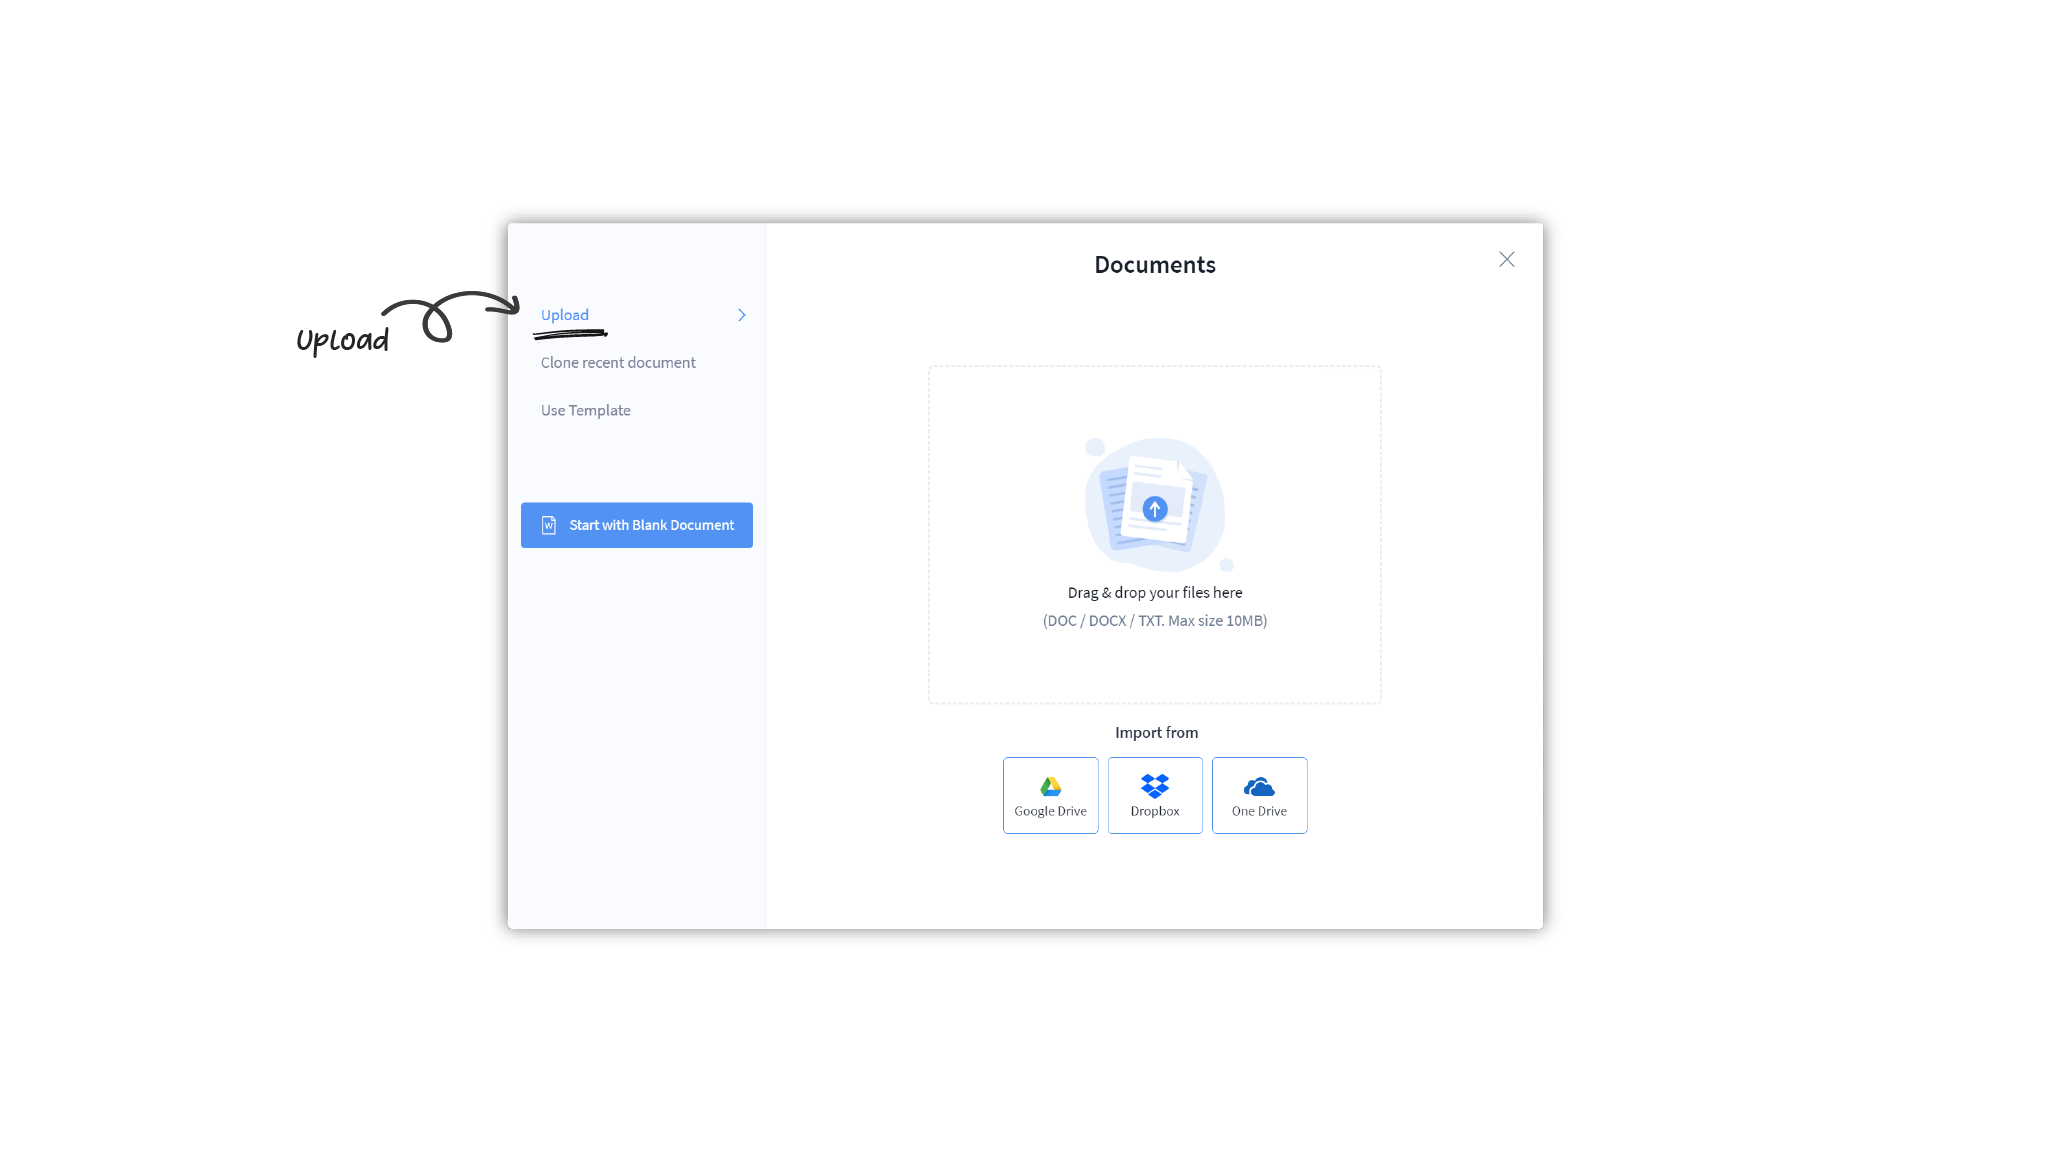
- You can now upload a document from your device
- To upload a file, drag and drop your file in the upload box
- You can also click on the box to open up your device’s file search.
- Select the file you wish to upload
- Once uploaded, the file will open up in the eSign editor.
- Accepted file types: PDF / DOC / DOCX / TXT
- Maximum size: 10MB
Import a document from a cloud drive
- Click on Create new in the main navigation menu
- Select eSign from the Create new popup modal
- Click on Upload
- Click on the cloud drive you wish to import your document from
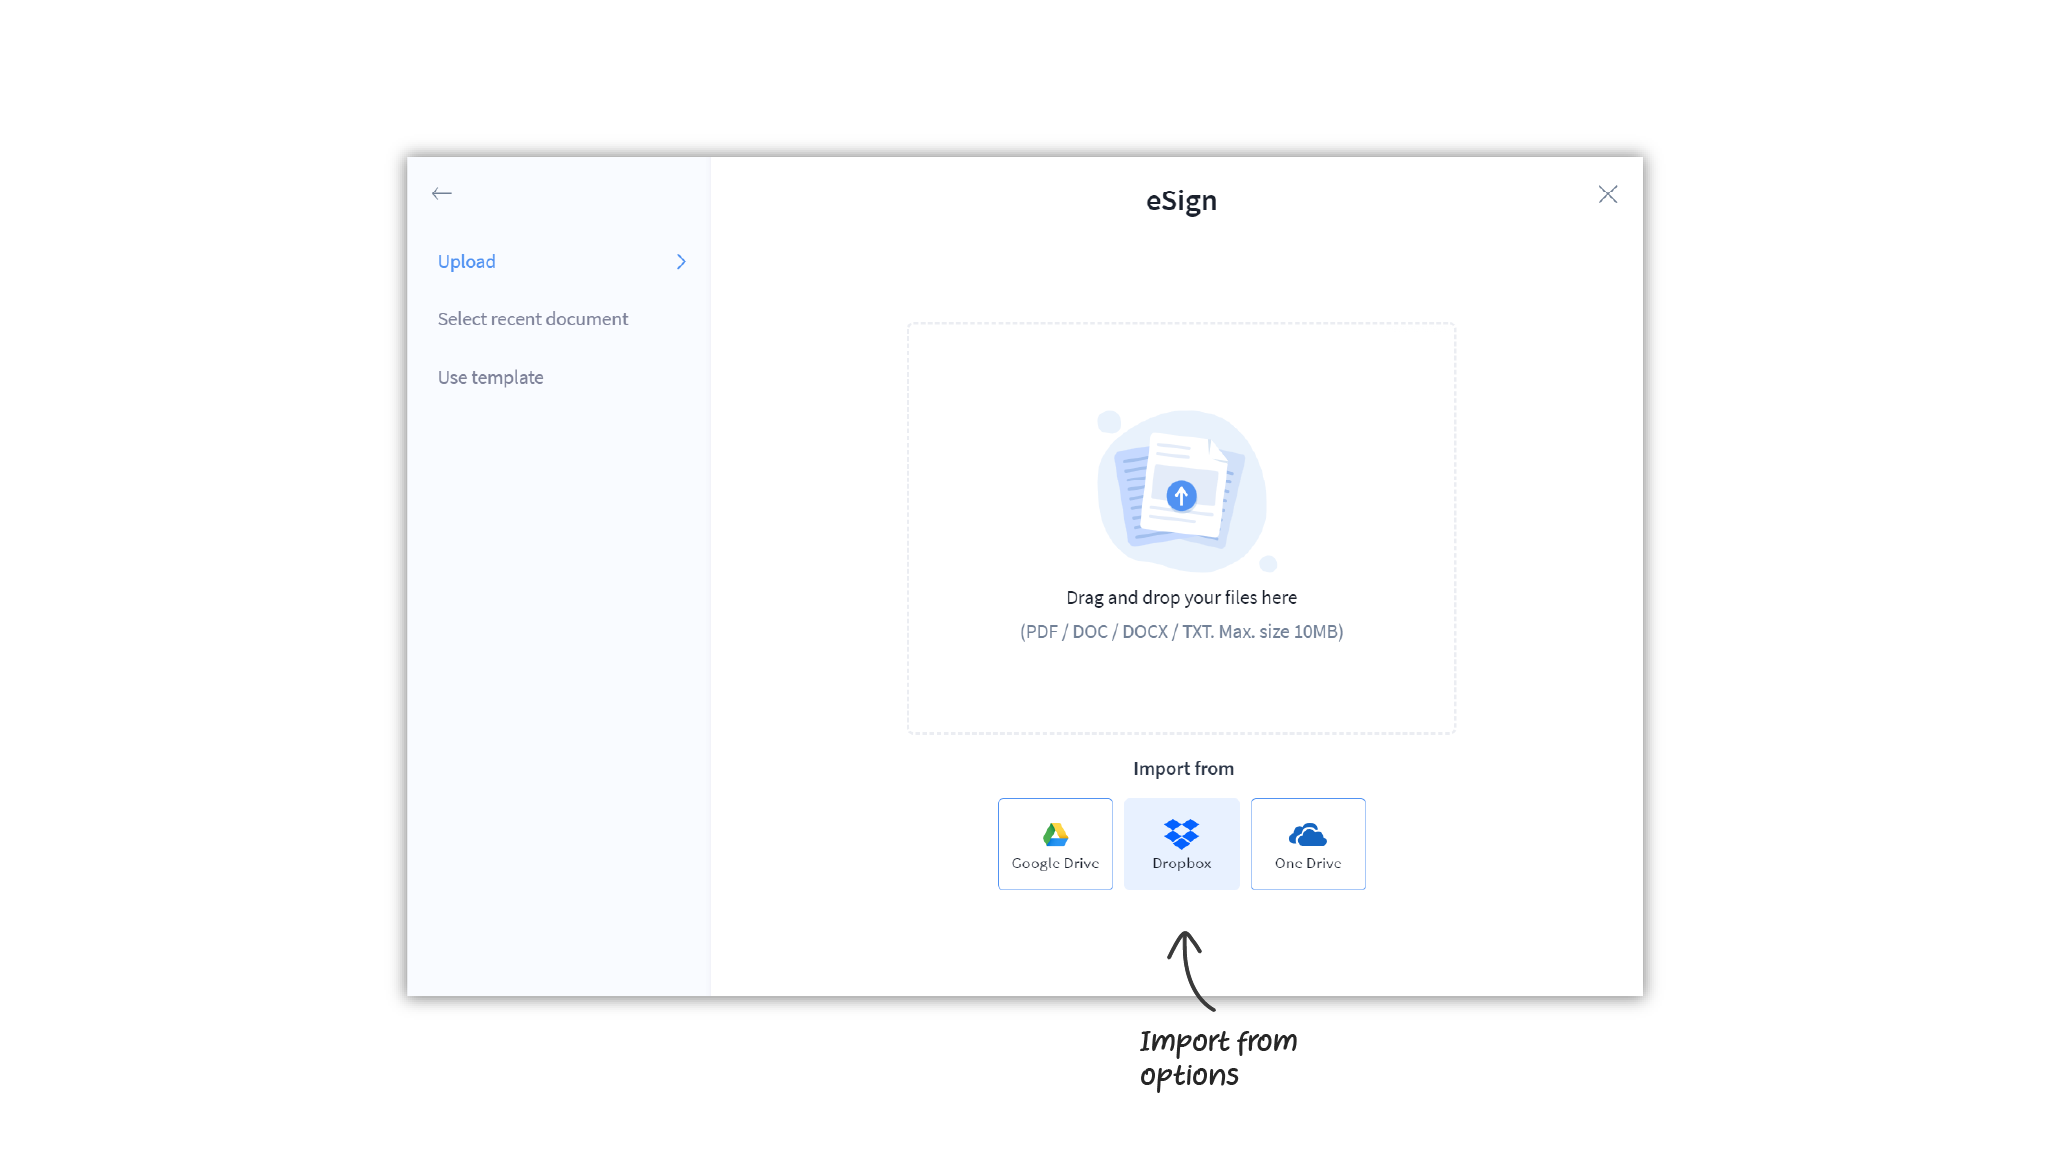
- Select the file you wish to import
- Once imported, the file will open up in the eSign editor.
- Accepted file types: PDF / DOC / DOCX / TXT
- Maximum size: 10MB
Use a recent DocuX document
If you want to get a recent DocuX document eSigned:
- Click on Create new in the main navigation menu
- Select eSign from the Create new popup modal
- Click on Select recent document
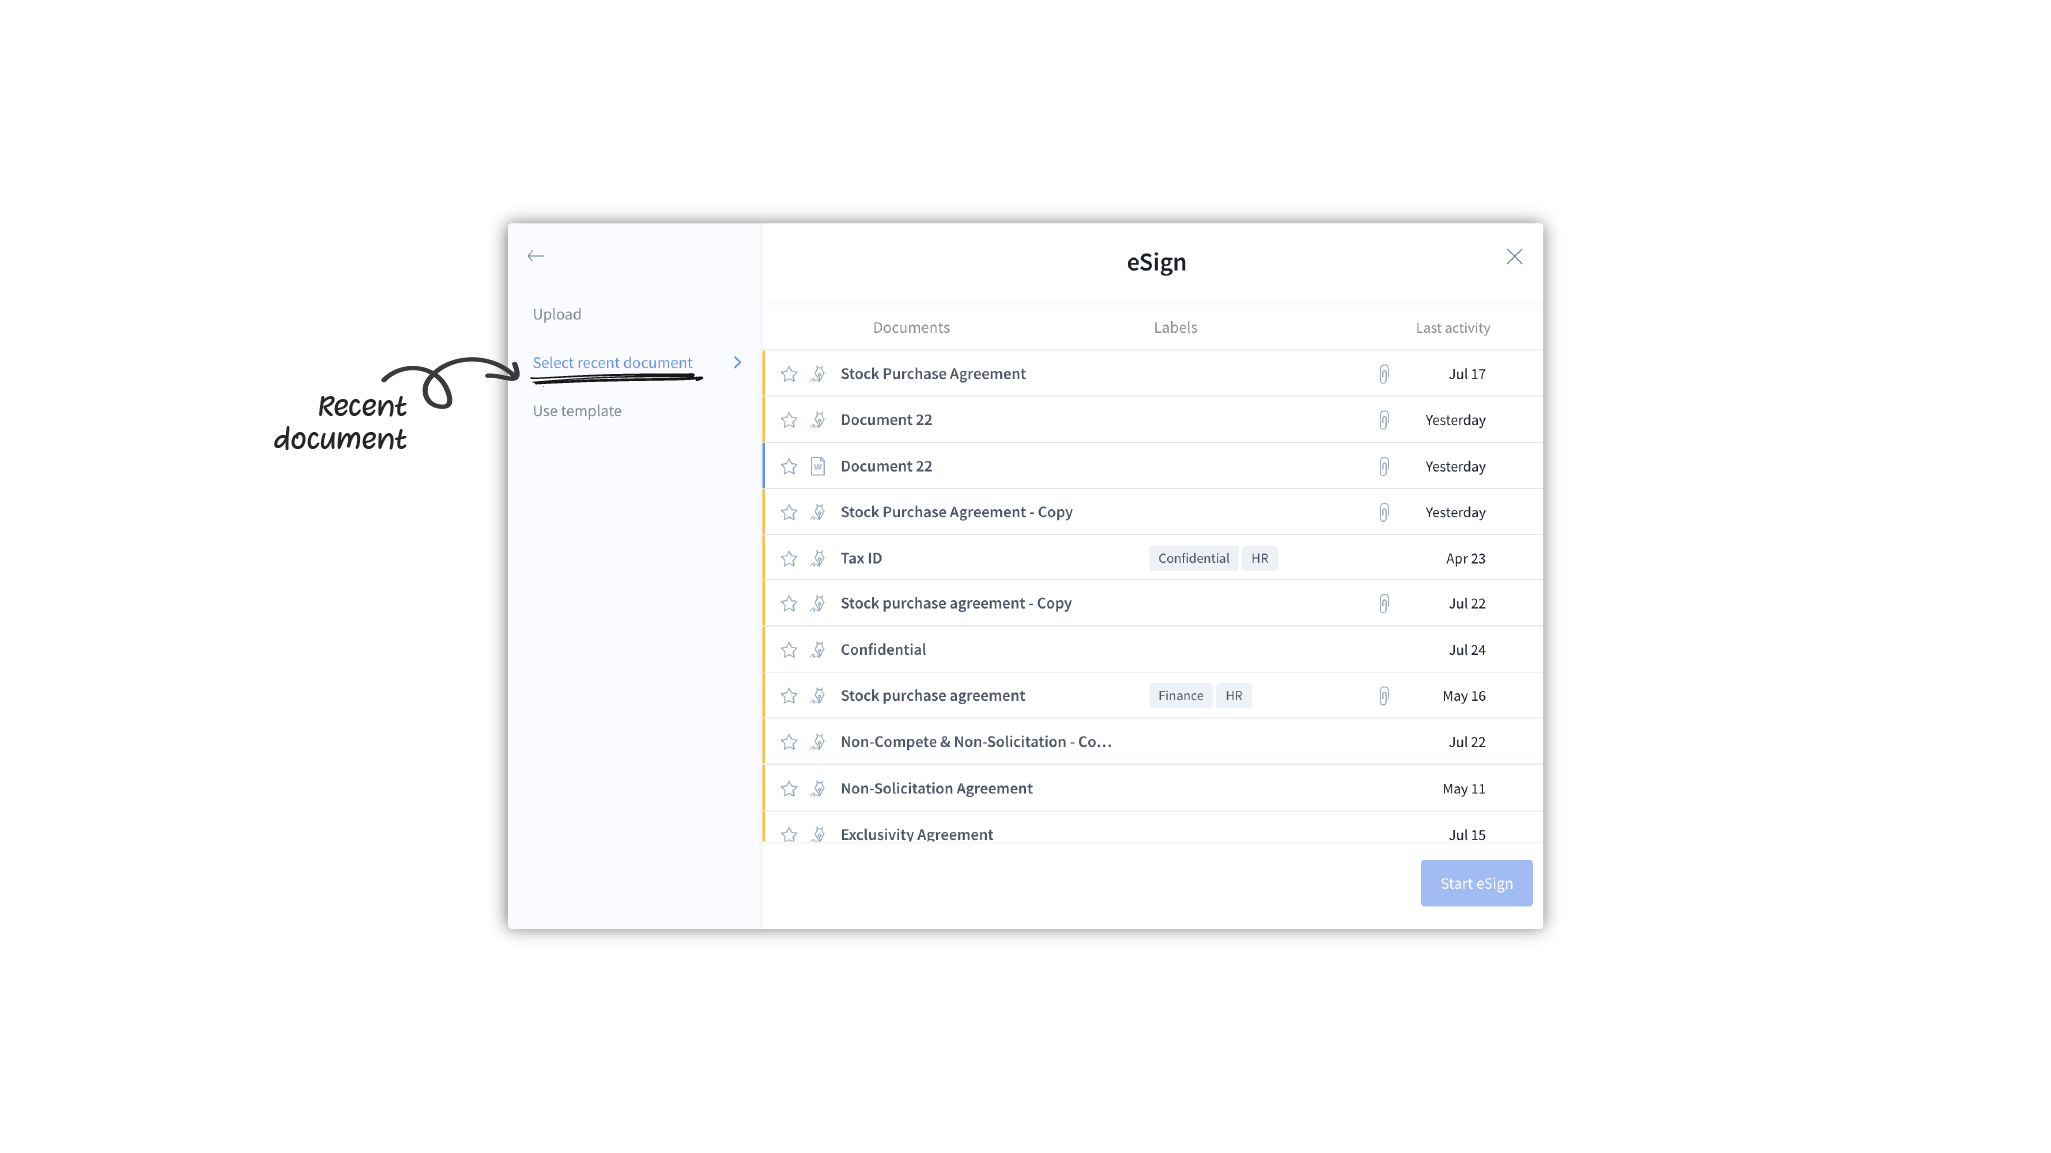
- Select any of the recent documents listed
- Click on Start eSign. The file will open up in the eSign editor.
Use template
You can create templates to speed up your eSign process. These templates can have approval and eSignature workflows created along with the content. Learn more about templates on DocuX.
If you want to create an eSign document from an existing template:
- Click on Create new in the main navigation menu
- Select eSign from the Create new popup modal
- Click on Use template

- Select from the templates listed
- Click on Start eSign. The file will open up in the eSign editor.
Start from any DocuX document you own
You can get any concluded DocuX document eSigned, provided you are the owner of the said document. To do so:
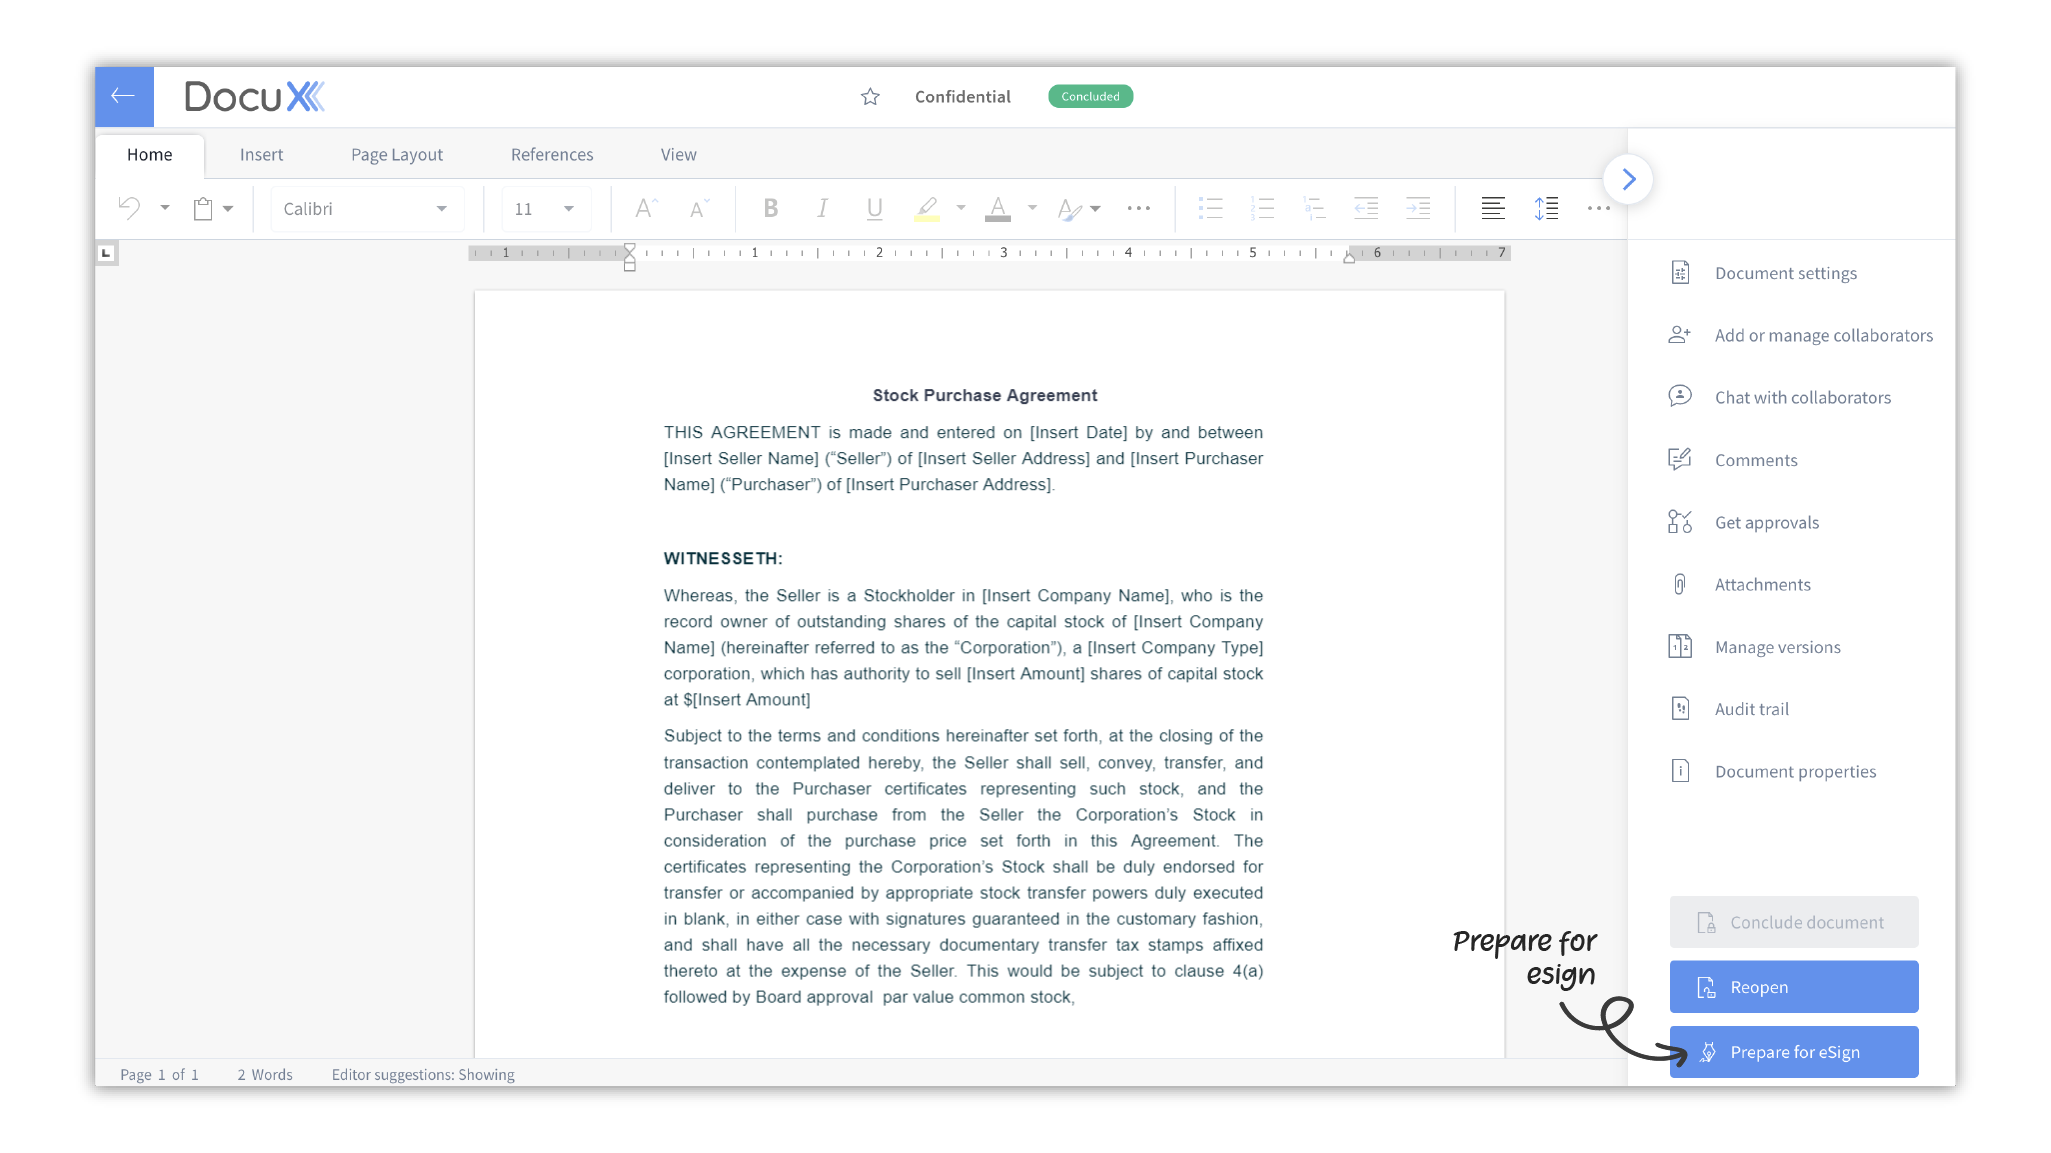
- Open the concluded document you want to eSign. Learn how to conclude a document.
- Click on Prepare for eSign at the bottom right corner of the screen
- If that document was previously prepared for eSign or eSigned, you will see a popup modal displaying the previous eSign versions and you can choose to view them or proceed with creating a new eSign document.
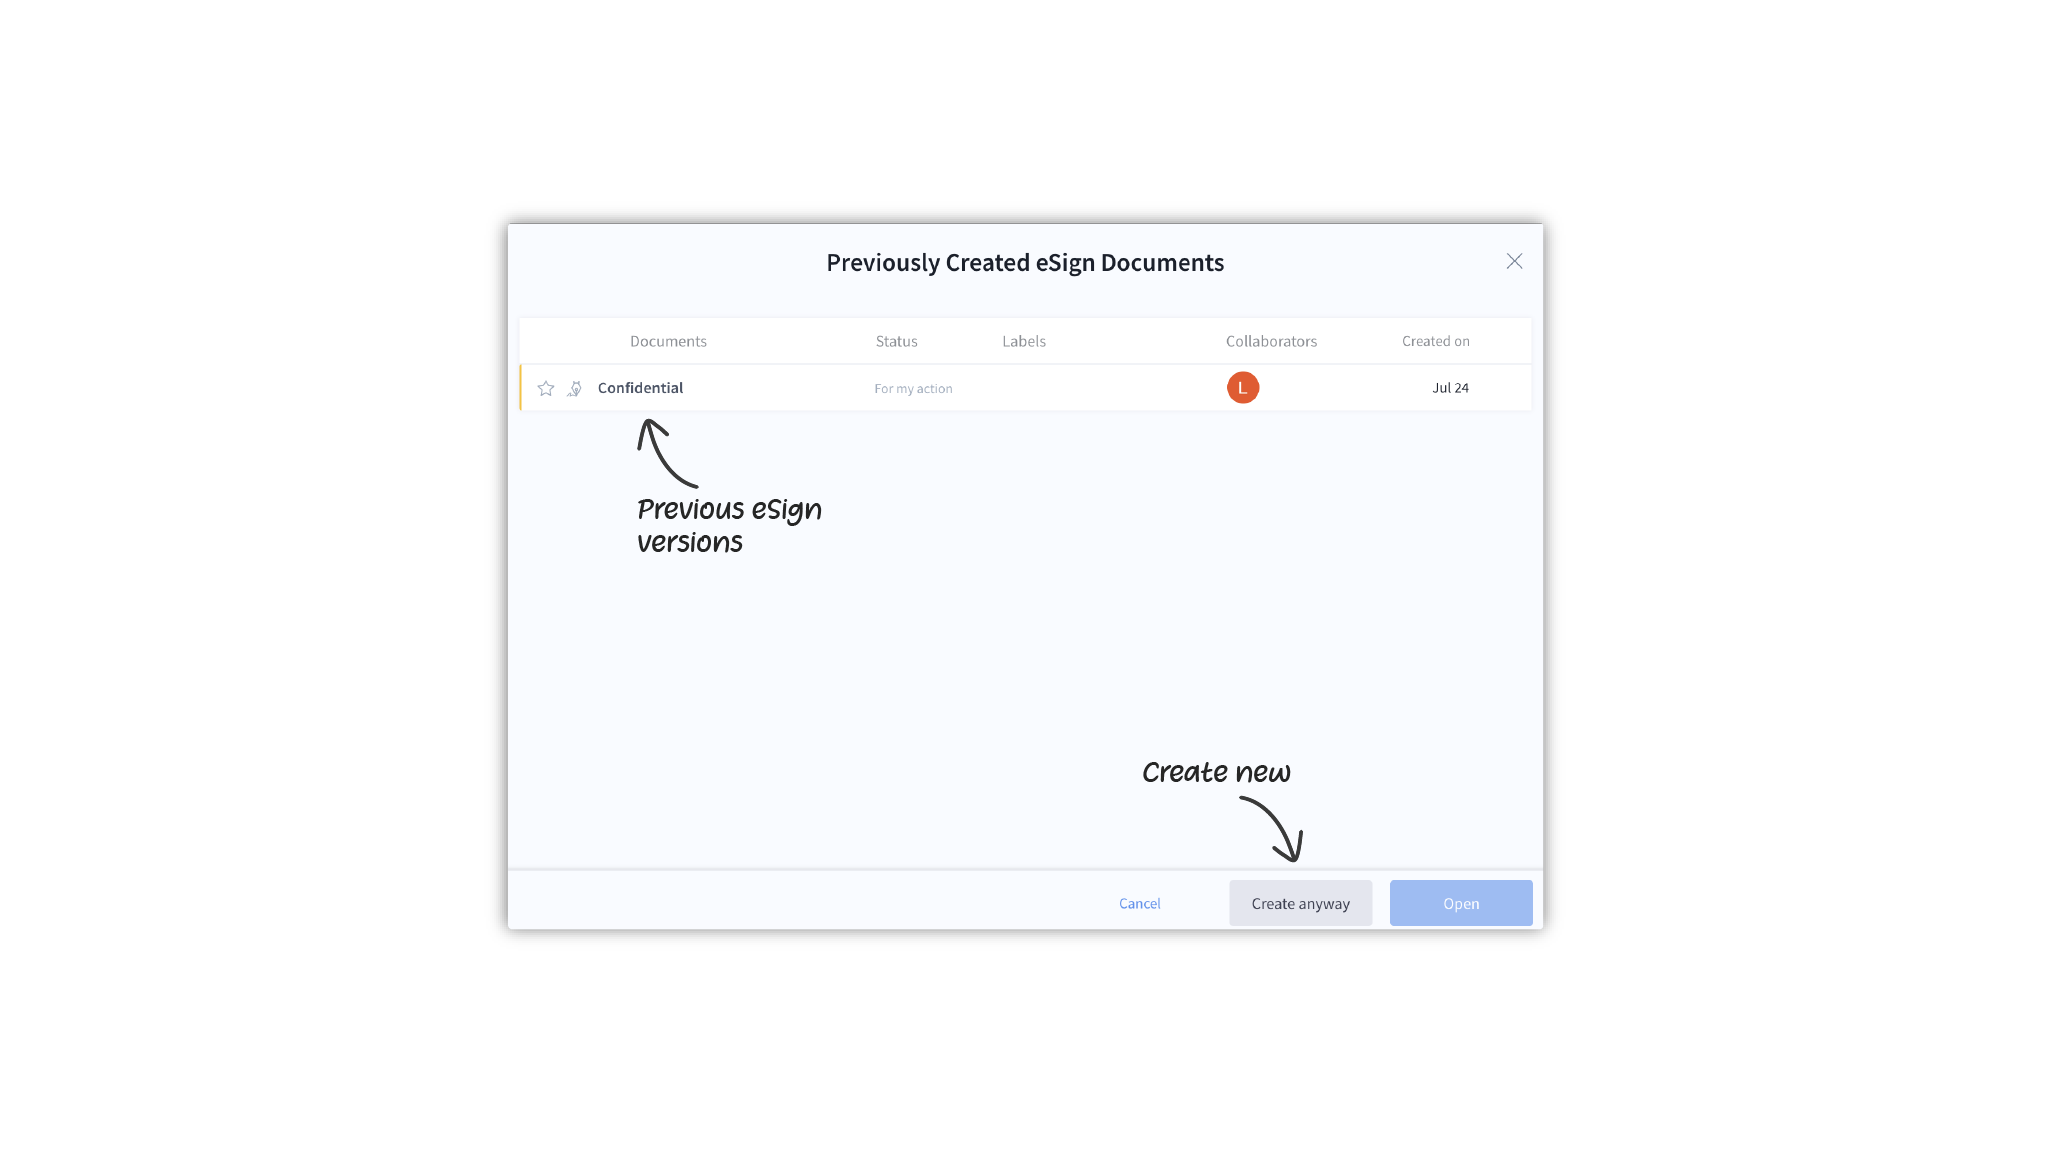
- This will open up the document in the eSign editor
Once created, you can add eSignature and other stamps to the document, add eSigners, get approvals, and more, before sending it for eSign.
Limits
Personal plan: Users can create 3 eSign documents every month and can eSign unlimited documents assigned to them by others.
Pro plan: Users on this plan have no limits and can create and eSign an unlimited number of eSign documents.
Team plan: Users with the Admin and eSigner roles have no limits and can create and eSign an unlimited number of eSign documents. Those on the Collaborator role do not have the permission to create or eSign documents.
Enterprise plan: Users with the Admin and eSigner roles have no limits and can create and eSign an unlimited number of eSign documents. Creators do not have the permission to eSign, but can create an unlimited number of eSign documents. Those on the Collaborator role do not have the permission to create or eSign documents.
Questions
Why can’t I see any cloud drives to import my document for eSignature?
Your company’s admin can restrict what external apps users can use on DocuX. If you don’t see any cloud drives to import documents from, their integration has likely been disabled by your admin.